DSC_0276DSC_0304DSC_0276-001

Monday, June 27, 2011

My Typical Tuesday

Well hellooo ladies and gentlemen! But mostly ladies... :) Isn't Rachel the best?!

I'm Mallory! I've got a really cute little 8 month old named Elizabeth Grace. We're two peas in a pod, her and I. Like....UNICORNS AND GLITTER!!! No? Alright. Let's cut to the chase, shall we?

alarm

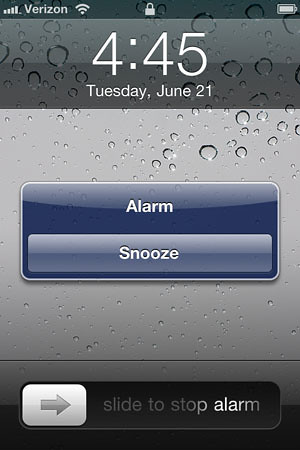
4:45AM: I am awakened by the sweet serenade of "Marimba" and the mad dash begins! One hour until I have to be at work.

pump
4:50AM: Since I work, I have to pump for Elizabeth. It will be the first of six times today.
Hey, we're all friends here, right?


Meanwhile, I whip up a quick breakfast...
breakfast


moon
5:27AM: Leave for work.
Good night morning, moon!

temple
5:29AM: I pass by the Jordan River Temple every day. It's always lit this time of the morning. I'm lucky to live so close.

makeup
5:33AM: Makeup in the car. I've become a pro at this.
Don't worry, I was stopped at a red light while taking this picture.

5:38AM: Hit the freeway. Sing backup for John Mayer.
(I sometimes like to think I'm pro at this.


5:52AM: Pull into work a few minutes late.


6:00A-Noon: Work. Specifically, collections.
(Enter scary "Psycho" murder scene music.)


For obvious reasons, Discover won't let us take any pictures inside. So I made a little picture for you....

discover card
workdrawing

It would NOT be a "typical" Tuesday if I didn't hear about turnips a few times.


goinghome
12:04PM: Time to go home! I'm so excited!!!


12:21PM: But first, gotta pick up a couple things for lunch.
groceries

12:52PM: I walk in the door, and am greeted with a lovely smile!
sohappytoseeyou
Sorry 'bout the blurry. I had to get the real smile before she got distracted.


1:25PM: Lunch time
lunch

1:45PM: Elizabeth and I make our way upstairs. 
It's my favorite time of day: NAP TIME!

2:01PM: Elizabeth's meltdown begins....

beforenap

2:06PM: Out cold.


afternap


This is when I get my best cuddle time :)
napcuddle


ZzzZzZZZZzzzZzzZzZ....


4:15PM: While Elizabeth soaks up the afternoon sun...
eingrass1
eingrass


...I practice being an "Extreme Couponer". (I'm a wannabe)
couponing


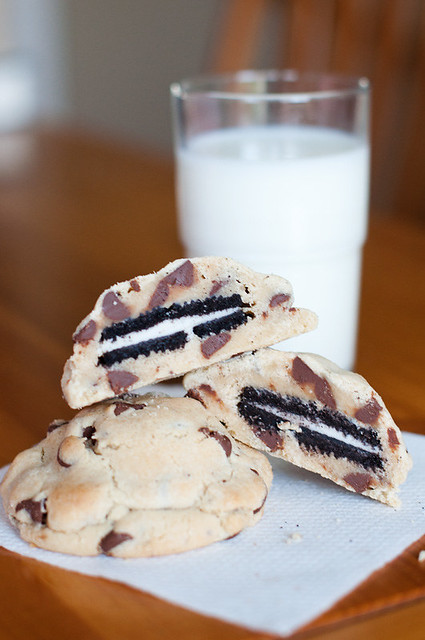
5:25PM: A quick snack
soup


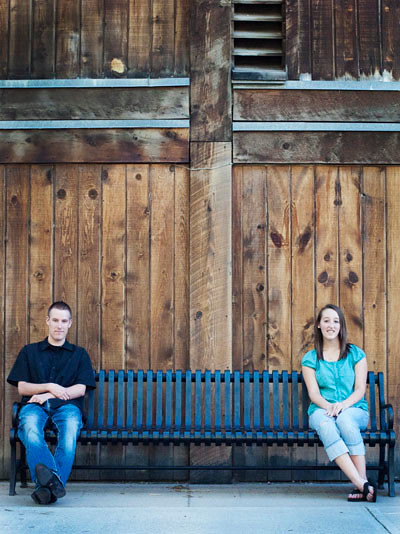
6:03PM: Today my sister and her boyfriend wanted their pictures done. 
So, we head over to Wheeler Farm for a little photo shoot.
winderfarm
Manhandle stroller....wander the premises....check out scary cows.....get attacked by swans....


hopeandsteveo_002
hopeandsteveo


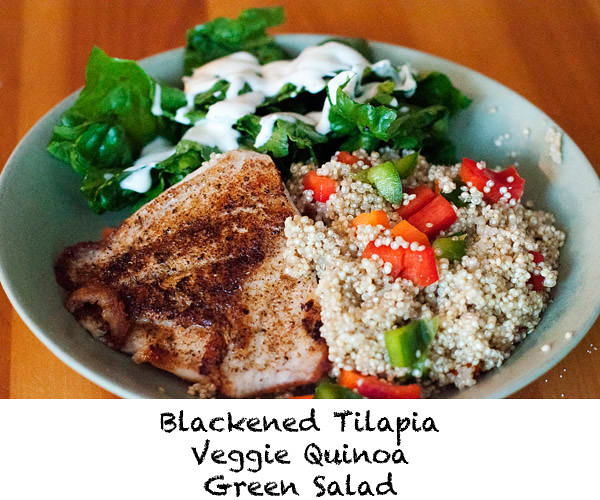
7:47PM: Back home, it's dinner time! Fish for me, sunglasses for Elizabeth...
dinner
playingpatiently


8:25PM: Time to get Elizabeth ready for bed.
**Bath**Brown Bear**Bottle **
Same book.
Every night. 
I've got it memorized.
bedtimeroutine

9:42PM: Semi-emergency WalMart run. 
I'm fortunate to live with my parents right now; Grandma watches over the little one.
walmart

10:28PM: Getting ready for bed
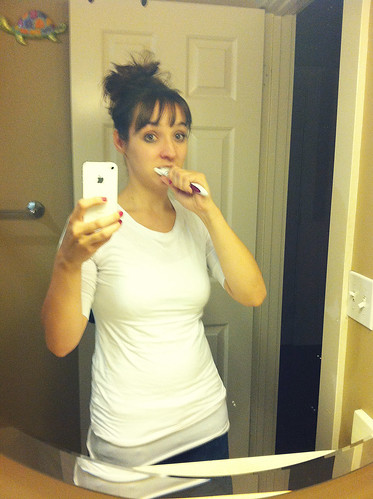
brushingteeth

Facebook. 
You know, the essentials.
screenshot


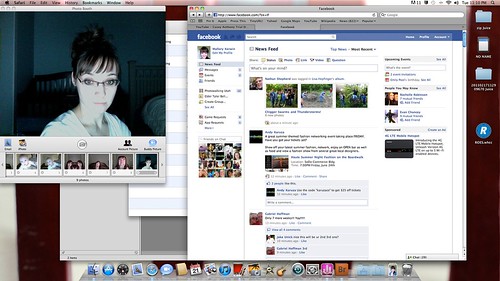
Exchange a few texts with a ....frieenndd :)
texting

Insanely soothing airplane white noise: check.
screenshotwhitenoise


Sleep mask: check.
(Hey man, I'm gonna be up in 2 hours to feed the baby, I need all the help I can get!)
photo-31

11:24pm: Phew! Another day, done! Goodnight, loves!


Love you, Rach! Thanks for having me!

Wednesday, June 8, 2011

Glitter Toes

(and fingers, too!)


glitter toes

I've been dying to try out one of the biggest trends here in Utah. Hey, if you can't beat 'em....

Anywho, I did NOT feel like paying $25 or whatever it is they charge at those nail salons. No way, man.

So for all you fellow penny pinchers out there, this one's for you.


YOU'LL NEED:
  • high quality fine glitter (I use "Barbara Trombley's Art Glitter" from Robert's Arts & Crafts. Don't forget to grab one of the flyers as you walk in the door. There's always a 40% coupon in there!)
  • coordinating nail polish
  • clear top coat

INSTRUCTIONS

1. Paint nails with coordinating color.
2. Immediately sprinkle glitter over the top.
3. Wait to dry.
4. Apply one or two clear top coats.
5. Make fun of the people who spent $25 on their glitter toes.


Ha. Just kidding.
...sort of.

Tuesday, June 7, 2011

Color Palette: Lavender Dust

lavender dust

Yummy neutrals...

Book Club: Stolen Innocence

stoleninnocence

This week's book is Stolen Innocence by Elissa Wall. And wow, TALK about captivating! Elissa Wall grew up in a polygamist community and was forced into an underage marriage by the infamous Warren Jeffs. Don't worry; eventually she manages to escape. This is where she tells her story.

Warren Jeffs' polygamist sect is inarguably one of the most secretive groups of people in the world. The people lived in a closed community and rarely made any contact with the outside world. Jeffs taught his followers to believe that outsiders are evil. Naturally, we don't know much about what their life was, and may still be, like.

To say that this book offers a glimpse into that secret world is an understatement. It delves into the nitty and the gritty--complete with photographs--leaving nothing to the imagination. It's heartbreakingly fascinating.

Some parts of the book are a bit slow going, but other than that, I absolutely LOVED it. It really makes you think: about your own beliefs, whether or not you're being "brainwashed", how you determine what is truth, etc. It definitely intensified the gratitude I feel for the freedom and possibilities in my life. Above all, it got me down on my knees thanking God that my daughter would never have to live such a life.

Monday, June 6, 2011

How to Cut Your Own Bangs

Here's a little way to save time/money....

My bangs were finally long enough to really bother me, as shown here:

photo
Boooo.

photo-1
1. Put hair in a ponytail, leaving out the bangs (obviously).
Dampen your hair just a bit and comb those puppies down nice and straight!

photo-2
2. Part the bangs in the center and pin one side back. It's MUCH easier to do one side at a time.

photo-3
3. Starting from the middle, hold your shears vertically and "point cut" at little tiny chunks of hair. "Point cutting" is pretty self explanatory. Just "point" the tips of your shears right where you want to cut, and cut! Do NOT cut horizontally!
If you don't already have bangs as a template to follow, go all the way to just past the outer corners of your eye. I like to leave the outsides just a bit longer to blend in with the rest of my hair.
(Don't worry about being a perfectionist here, it doesn't need to be cut perfectly straight across.)

photo-4
So far, so good!

photo-5
4. Now unpin the rest of your bangs and do the exact same thing on the other side. Start from the middle so you can line it up to the hair you just cut.

photo-6
6. Almost done! Go back over everything and clean up random hairs that you missed.

photo-7
7. When you're all done, blow dry and style like normal and do a final sweep for stray hairs.

Ta da!

Color Palette: Blossom Romance

blossom romance

I instantly fell in love with the color scheme in this photo when I saw it on Pinterest, so I decided to create a color palette. Mmm, isn't it lovely?

I'm pretty sure making color palettes will be my new obsession.

Tuesday, May 31, 2011

Book Club: The One Hundred by Nina Garcia

Does the author sound familiar? If you're any fan of Project Runway, you'll know her as one of the panel judges. I bought this book when my entire wardrobe was involuntarily "donated" to Goodwill. That's a story for another time, but what you should know is that the only clothes I had were maternity clothes. Basically, I had to start an entire wardrobe from scratch and I wanted to spend my money wisely.

This book lists Nina's top 100 items for every woman's wardrobe. And let me tell you what, I learned a LOT. I used to buy clothes that were inexpensive and/or trendy. After only a few months, they would usually 1) fall apart, 2) lose their shape, 3) fade, 4) be out of style....or all of the above. Now I've learned the value of investing on certain pieces that will ALWAYS be in style and that are made well. This book has been invaluable in helping me know what those pieces should be and get this... I have YET to regret ANYTHING I've purchased. !!!! Lucky for you, I'm going to share the list. You can thank me later now.

THE 100

1. A-Line Dress
2. Animal Print
3. Ankle Bootie
4. Aviators
5. Ballet Flat
6. Bangles
7. Belts
8. Bikini
9. BlackBerry
10. Black Opaque Tights
11. Blazer
12. Boyfriend Cardigan
13. Brooch
14. Cable-Knit Sweater
15. Caftan
16. Camel Coat
17. Cape
18. Cashmere Sweater
19. Charm Bracelet
20. Clutch
21. Cocktail Ring
22. Converse
23. Cosmetics Bag
24. Cowboy Boots
25. Cuff
26. Denim Jacket
27. Diamond Studs
28. Driving Shoe
29. Espadrilles
30. Evening Gown
31. Exotic Skin Bag
32. Fishnets
33. Frye Harness Boot
34. Fur
35. Gentlemen's Hat
36. Gloves
37. Havaianas
38. Hobo Bag
39. Hoop Earrings
40. Investment Bag
41. iPod
42. Jeans
43. Jewelry Pouches
44. Khakis
45. Knee Boots
46. Leather Pants
47. Lingerie
48. Little Black Dress
49. Little White Dress
50. L.L. Bean Tote
51. Luggage
52. Mad Money
53. Man's White Shirt
54. Mary Janes
55. Minnetonka Moccasins
56. Missoni Knit
57. Monogrammed Stationary
58. Motorcycle Jacket
59. Nail Polish
60. Old Concert T-Shirt
61. One-Piece Swimsuit
62. Pajamas
63. Peacoat
64. Pearl Necklace
65. Pencil Skirt
66. Perfume
67. Plain White Tee
68. Polo Shirt
69. Pucci
70. Push-Up Bra
71. Quality Champagne
72. Red Lipstick
73. Robe
74. Safari Jacket
75. Sandals
76. Sarong
77. Signet Ring
78. Silk Scarf
79. Slippers
80. Spanx
81. Statement Necklace
82. Stilettos
83. Striped Sailor Shirt
84. Suit
85. Sunhat
86. Trench
87. Turquoise & Coral Jewelry
88. Tuxedo Jacket
89. Umbrella
90. Underwear
91. Valid Passport
92. Vans
93. Vintage
94. Watch
95. Wayfarers
96. Wellington Boot
97. Wide-Leg Trousers
98. Wrap Dress
99. Yoga Gear
100. Zippered Hoodie

Anyway, there it is. You may or may not agree with every thing on the list, which is why Nina suggests adjusting some of the items to fit your own personal style. I HIGHLY recommend checking out the book as it goes into a lot more detail. You'll love it!

Wednesday, May 25, 2011

E's Baby Quilt

I am NOT a quilter. This is the first and, so far, ONLY quilt I've made in my life. So, you can ignore the way I'm going to absolutely butcher this tutorial with no technical terms/processes whatsoever.

P.S. Sorry there's no instructional pictures. I made this months ago, with no intention of creating a tutorial.

babyquilt_001
babyquil_002
babyquilt_003

MATERIALS

- 5 different sets of coordinating fabric. Each set should have enough fabric to cut out 5 circles about 4.5 inches in diameter.
- 1 yard off-white muslin quilting fabric
- 2 yds flannel (solid color)
- 1/4 yd contrasting flannel (for border and trim)
- batting
-pins
-marking pencil


INSTRUCTIONS

1. Start by cutting out 25 circles. Mine are 4.25 inches in diameter. I used a drinking glass as a template. If you have a rotary circle cutter on hand, use that instead.

2. Cut 25 7x7" squares from the quilting muslin. It's really important that these are true squares and are identical, so make and use a template. (Cardstock is perfect for this. If you don't have any, cut apart a cereal box.)

3. Center and pin a circle on each square.

4. Sew the circles to the squares. I sewed about a .5" in from the edge of the circle. (Later, I cut all the way around the edge of the circles, just to the seam, so the edges look raggedy and frayed.)

5. Lay out and arrange your squares on the floor, in the desired pattern.

6. Now it's time to sew them all together. You'll do this a row at a time, starting with the lower left square. Take the square next to it and put them right sides together. Sew a .5" seam down one side. Open it up and press the seam. Take the next loose square and continue until all 5 squares are sewn together and pressed.

7. Continue to sew the other 4 rows individually. MAKE SURE THERE IS ALWAYS A .5" SEAM ALLOWANCE, or else the rows aren't going to line up.

8. To sew the rows together, take the bottom two rows and put them right sides together. Match up the seams and pin, pin, pin. Sew a .5" seam down the long side, then press it. Repeat until all rows are sewed together and you have a nice, pretty 5x5 block.

9. Trim the excess bulky fabric from the seams.

10. Using the contrasting flannel, sew a decorative border around the entire square. Mine is 1.5" wide. I mitered the corners. You should Google how to miter corners, because I'll just confuse you.

11. Using the solid flannel, sew a 4.75" wide border all around. I didn't miter the corners here, but I'd suggest you do so for a cohesive look.

12. Now you have the top piece finished! To make the back, just cut a piece of the solid colored flannel the same size as the top piece. The finished size will be about 40x41".

13. Cut a piece of batting the same size.

14. Sandwich the batting between the top and bottom quilt pieces.

15. To anchor the batting, I resewed over the circles' seams. I also sewed around the contrasting border (you can see in the last picture).

16. To finish: Fold the edges (.25") of both the top and bottom pieces and press. For each of the 4 sides of the quilt, take a 3.5" strip of the contrasting fabric and fold it lengthwise, wrong sides together. Sandwich this in the edge of the quilt so that the crease is inside where you can't see, and the raw edges are sticking out. Sew all of this (top piece of quilt, contrasting fabric, batting, and bottom piece of quilt all layered on top of each other) down the edge. Continue on the other 3 sides.

17. At this time, you can cut the edges of the circles and the contrasting fabric on the outer edge of the quilt all raggedy-like.

Done!

Whew. I hope this wasn't TOO confusing. Please let me know if you have any questions!

scrabble art

scrabble love

I saw this the other day and HAD to make it.

The background is just some scrapbook paper.

Oreo Stuffed Cookies

oreo cookies

You pretty much don't need me to tell you how freakin' delish these are. The picture says it all, doesn't it?

These are so super easy it's ridiculous.

To make 24 cookies, you'll need:

1 cup soft butter
3/4 cup brown sugar
1 cup granulated sugar
2 eggs
1 t vanilla
3 1/2 cups flour
1 t salt
1 t baking soda
1 bag chocolate chips (I used milk chocolate)
1 pack Double Stuffed Oreos

Preheat oven to 350°.

1. Beat the butter and sugars until smooth. Beat in the eggs and vanilla.
2. In a separate bowl, mix the flour, salt, and baking soda. Add this to the butter/sugar mixture.
3. Stir in the chips.
4. Take two golf ball sized chunks of cookie dough and an Oreo, and make an Oreo sandwich (Oreo in the middle, obvi). Mold the dough around the Oreo so it's completely covered.
5. Bake for 13 minutes.